Fix Windows Resource Protection Cannot Perform the Requested Operation
You can check this in the Windows Services Manager in Windows 11/10. The steps to do this are as follows: command box by pressing the Win + R keys. services.msc and click OK. This will open the.
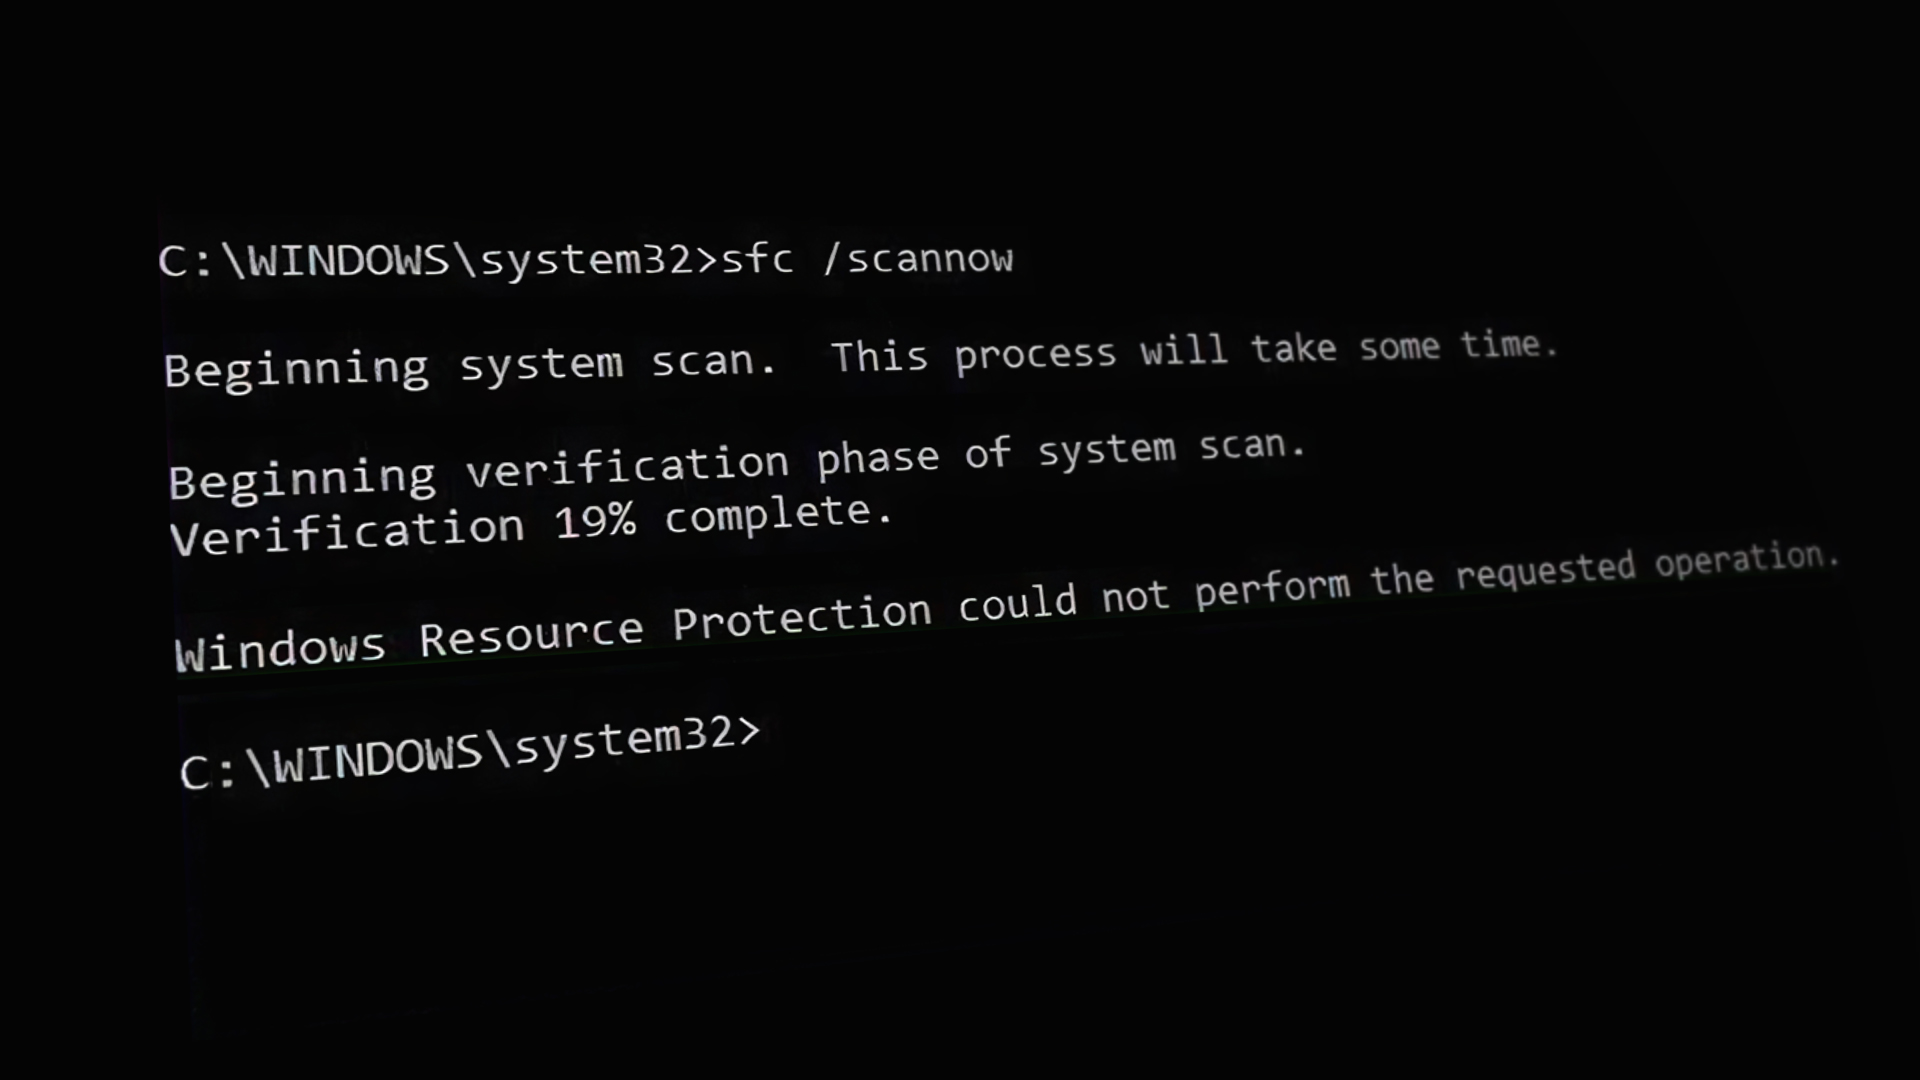
How To Fix "Windows Resource Protection Could Not Perform The Requested Operation"
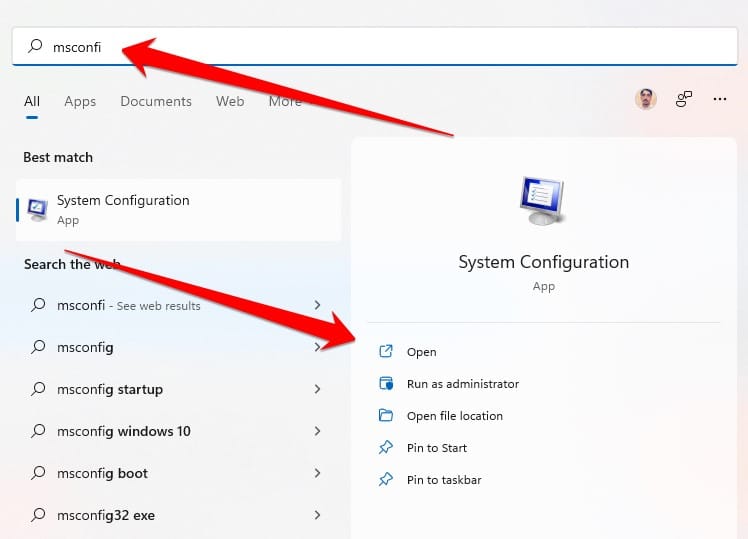
Press Windows key + R to launch the Run dialog window. Type msconfig and click OK or press Enter. Select the Boot tab at the top, and check Safe boot and Minimal under the Boot options section.

How To Fix Windows Resource Protection Could Not Perform Requested Operation On Windows 11 YouTube
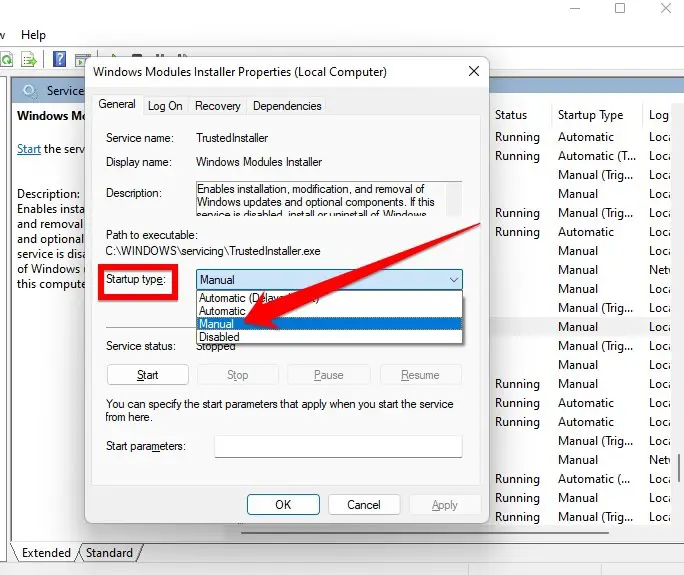
Click Start, type "services.msc" (without quotes) and press Enter. b. Double-click Windows Modules Installer. c. Set its Startup type to Manual. d. Click OK. Now see if you can run the SFC scan. Step 2: If this does not help then, try performing an offline SFC scan from the Windows Recovery Environment (WinRe). a.
FixWindows Resource Protection could not perform the requested operation Windowspcsecrets
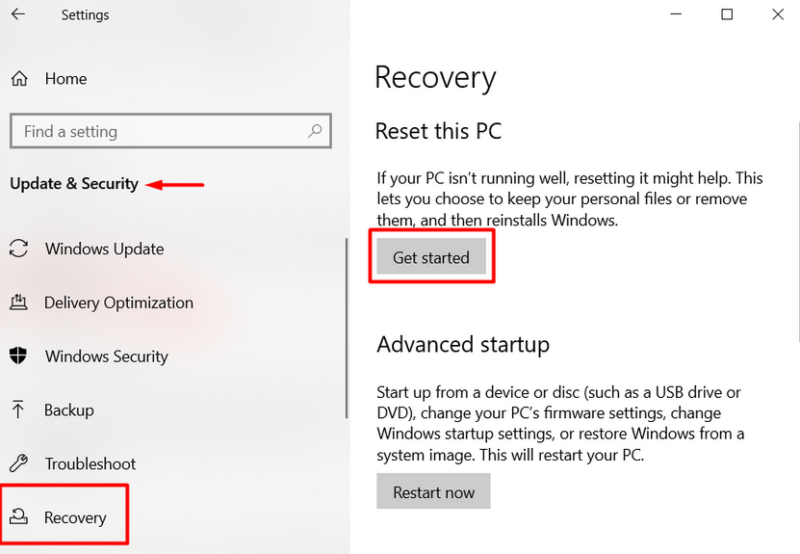
At the end click on the " Start " button and then click on Apply and then close the Services window and try running your command again. Method 3. Use Reset PC Option. Use the Reset PC option to fix "Windows Resource Protection Could Not Perform The Requested Operation.".
[FIX] Windows Resource Protection Could Not Perform the Requested Operation
Fix "Windows Resource Protection could not perform the requested operation" Run the SFC scan in safe mode. Windows has a safe mode where you can easily troubleshoot any problems encountered with the normal functionality of the OS. It is also a great place to run the SFC scan in case any other programs or apps were blocking it from running.

FIX Windows Resource Protection Could Not Perform the Requested Opera
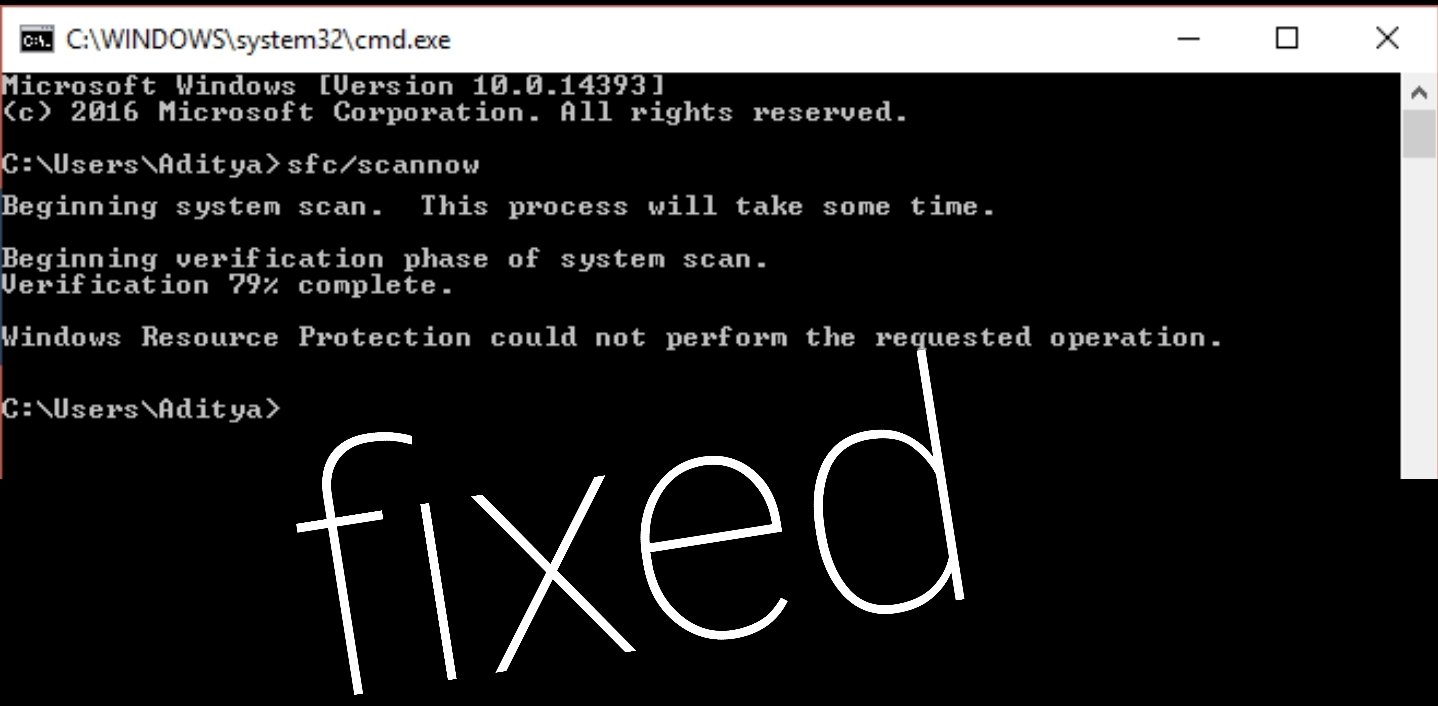
The operation completed successfully. PS C:\Users\Administrator> sfc /scannow Beginning system scan. This process will take some time. Beginning verification phase of system scan. Verification 76% complete. Windows Resource Protection could not perform the requested operation.
How To Fix Windows Resource Protection Could Not Perform The Requested Operation TechColleague
The Windows Resource Protection could not perform the requested operation error, a relatively common issue that can occur on Windows 10. There are a number of potential causes for this error, including corrupt system files, incorrect permissions, or malware.

Windows Resource Protection Could Not Perform the Requested Operation
Press "Windows" + "R" to open the "Run" prompt. Type in "Services.msc" and press "Enter". Navigate down the list and double click on the "Windows Module Installer". Select the "Start" option and wait for the service to be started. Perform an SFC scan and check to see if the issue persists.
How To Fix Windows Resource Protection Could Not Perform The Requested Operation TechColleague
First, try running the sfc /scannow command in Safe Mode to see if that resolves the issue. Press Win + R, type msconfig, and press Enter. This should launch the System Configuration window. Switch to the Boot tab and look for Boot options at the bottom left of the window.

Fix "Windows Resource Protection could not perform the requested operation" TECHFASHY
Press Win + R to open the Run dialog and then type in Command Prompt. Tap on Win + SHift+ Enter simultaneously to open Command Prompt with administrator privileges. (Or you can right-click it in the search result and choose Run as administrator .) Type in the following command and then press Enter to run. chkdsk C:/r.
Fix "Windows Resource Protection could not perform the requested operation" TECHFASHY OFFICIAL
Type msconfig in the Windows search bar and run the system configuration app. 2. Go to the Boot panel at the top of the configuration Window, and tick the Safe boot option. 3. Click OK and restart your computer. Your PC will now boot in Safe Mode. Try the SFC scannow tool to see if it works.

Fix "Windows Resource Protection could not perform the requested operation" TECHFASHY OFFICIAL
To run the computer in safe mode, perform these steps: Press ' Windows + R ' and type " msconfig " to open the " System Configuration " menu. Navigate to the ' Boot ' tab. Check the box for " Safe Mode " and press Apply. Reboot the computer. Once the computer has booted in the safe mode, open CMD with admin privileges.
How to Fix “Windows Resource Protection Could Not Perform the Requested Operation” Error
Solution 1: Run SFC in Safe Mode. 1) Press the Windows logo key and R key at the same time to invoke the Run box. 2) Type msconfig and press Enter. 3) Tick on Safe boot in Boot and click OK. 4) Click Restart when asked by System Configuration. Your Windows will then boot into safe mode. 5) Run sfc /scannow to see if it works.

Fix "Windows Resource Protection could not perform the requested operation" TECHFASHY OFFICIAL
If not, proceed to the following fix. Good to know: if you're constantly tweaking the registry on your Windows PC, it may be a good idea to learn how to back up and restore your registry. 4. Run SFC Scan in Windows RE. The Windows Recovery Environment (RE) provides you with a set of diagnostics and repair tools to fix common Windows errors.

How To Fix “Windows Resource Protection Could Not Perform the Requested Operation”
Fix 4. Reset This PC to Fix Windows Resource Protection Could Not Perform the Requested Operation. You must have tried every fix! If the issue is unresolved, it's time to reset this PC. But before resetting this PC, you should have a backup of all your data. However, the steps to reset Windows are the following: Step 1. Open settings. Step 2.

Fix Windows Resource Protection could not Perform Requested Operation (Solved) YouTube
But if the Windows resource protection could not perform the requested operation, in this article, we will discuss the causes and how to fix this problem. 1. Run a CHKDSK Command on your Hard Drive. 2. Run the SFC scan in Safe Mode. 3. Run the DISM scan. 4.