
Paint and Sip Ideas Night painting, Kayak art, Art painting
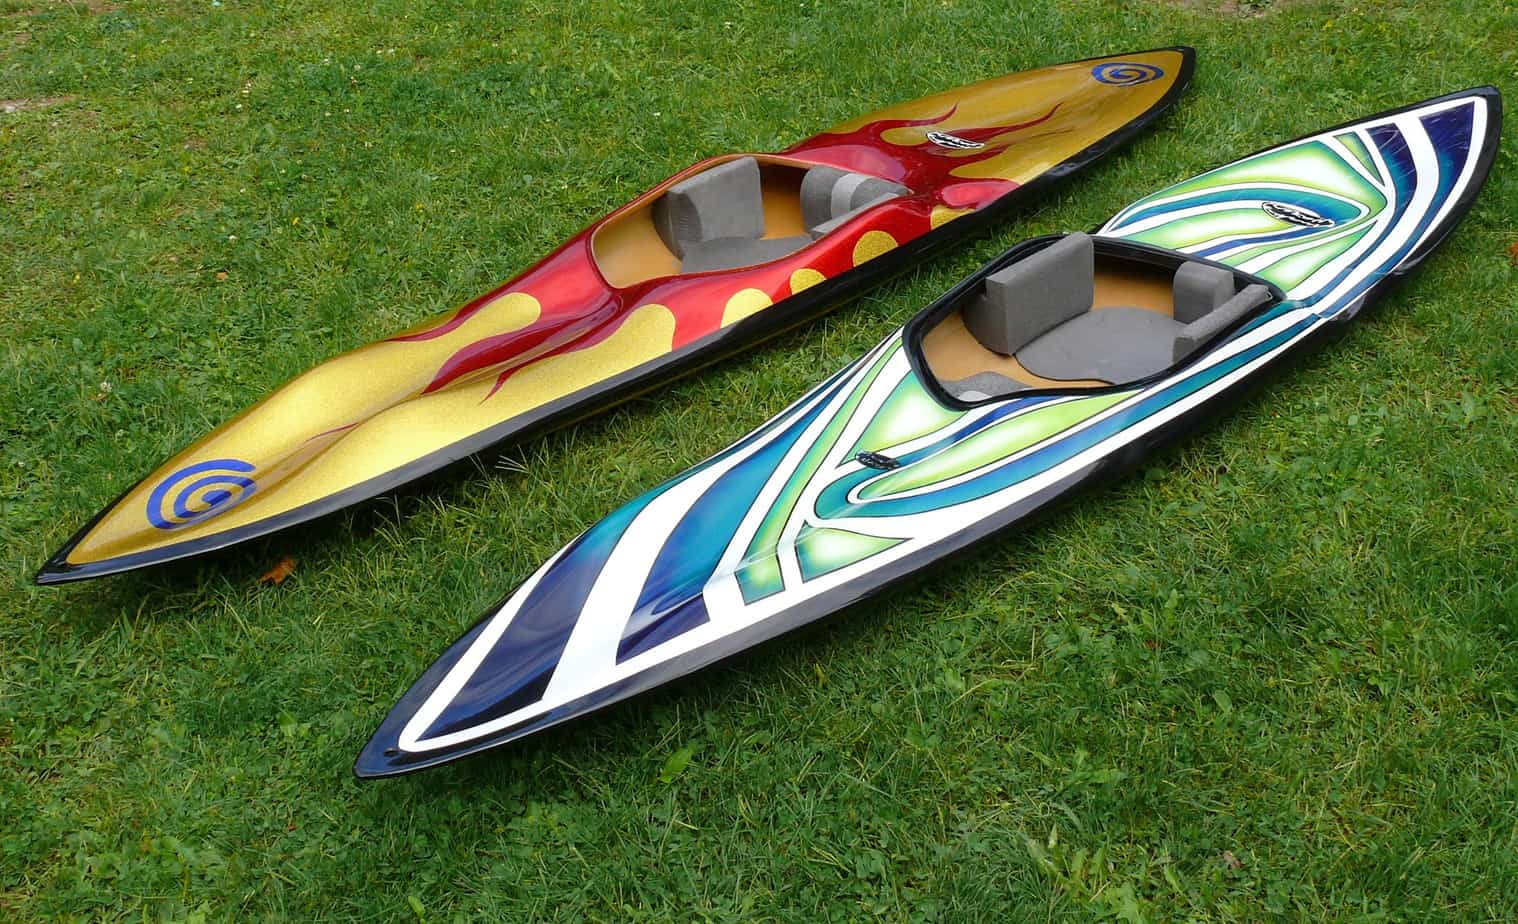
Adding Designs and Details. If you're adding designs or multiple colors, this is the stage to do so. Use your creativity to bring your vision to life.. Inspect your painted kayak for any imperfections or areas that need touch-ups. Make sure the lines are clean and the paint is smooth. 12. Buffing for a Glossy Finish.
How to Paint a Fiberglass Kayak
If you choose an outside workspace, keep in mind that some of these kayak painting ideas and designs require several 24-hour drying stages. So you will probably need 3-4 days of warm, dry weather to complete them. Protect Yourself. Don't forget to wear eye protection and some sort of dust mask when you are preparing the surface of a kayak for.
21 Kayak Painting Ideas & Designs Kayak Help
Painting A Kayak With A Brush. The process of painting a kayak with a brush is incredibly time-consuming, and you can't control where the paint dries, which is an important aspect of kayak painting. However, using a brush offers greater control, allowing you to create intricate designs and features on your kayak.
21 Kayak Painting Ideas & Designs Kayak Help
Prepare the surface: Clean and sand the kayak's surface before applying paint to ensure proper paint adhesion. Use the appropriate paint: Marine-grade paint is specifically designed for boats and will provide the best results. Apply multiple coats: Two or three thin coats are ideal for a smooth, even finish.
21 Kayak Painting Ideas & Designs Kayak Help
Step #2: Sand Down on the Kayak and Use Acetone. After preparing the area, the next thing you have to do is, clean the kayak with the dishwasher thoroughly and exquisitely. Make Sure, the kayak is entirely dirt and residue-free. Dry it down completely. Grab the sandpaper and sand down the whole kayak.

21 Kayak Painting Ideas & Designs Kayak Help in 2021 Kayaking, Kayaking tips, Kayak paddle
Step 4: Dampen It. While your yak is warm, spray it with water in a spray bottle. The kayak shouldn't be soaking or have water dripping down the sides as this will extend the water evaporating; it should just be damp. If you don't have a spray bottle, a damp cloth will do fine.
21 Kayak Painting Ideas & Designs Kayak Help
Step 5: Rewash The Kayak Thoroughly, Applying Wax. Once the paint and clear coat are completely dry, go ahead and give your kayak a last clean with extra dishwashing soap and water to maximize its cleanliness. Once your boat is dry, you may add additional care using marine wax.

Kayaks on Taylor's Creek, 18x24, acrylic on canvas Canvas painting, Painting, Artwork
Design: Start by sketching or printing your desired design on sturdy material like cardboard or plastic sheets. Cutting: Carefully cut out the design using a sharp craft knife or stencil cutter. Positioning: Hold the stencil firmly against the kayak's surface and apply paint using a brush or spray.
21 Kayak Painting Ideas & Designs Kayak Help
First of all, put on your face mask and hand gloves and start painting in thin and proper layers. Provide the kayak with extra coating after a gap of at least 2-3 hours. It can be helpful in a way that enhances the color given to the kayak and make it more reviving and vibrant. Step 8. Apply Finishing Paint.
21 Kayak Painting Ideas & Designs Kayak Help
Mastering the Art of Kayak Painting: A Comprehensive Guide. Posted on 2023-10-20 2023-11-08 by Anthony Allen.. Why not give his old buddy a fresh, rejuvenating coat of paint? Perhaps even try out a camouflage design to blend seamlessly during his stealthy fishing and hunting expeditions? Having little experience with such endeavors, John.
21 Kayak Painting Ideas & Designs Kayak Help
3. Acetone Cleaning. In order to get the paint to cover each and every cm of the kayak, it is very important to clean it with acetone and remove oil from its surface. 4. Start Painting The Kayak. Now it is time to give your kayak the color it deserves. You can color it according to your design plan and the material you have chosen.
How To Paint A Kayak StepByStep Guide For A DIY Kayak Paint Job
Step 1: Prepare the Painting Area. Preferably, you should do kayak painting outside on a calm and windless day. However, if you choose to paint your kayak indoors, make sure that you have a well-ventilated, dust-free area. You do not want any airborne particles to ruin all of your efforts.
21 Kayak Painting Ideas & Designs Kayak Help
Clean and Wax the Kayak. Again, wipe down the kayak with warm water and a little dish soap. Then apply a marine wax to the surface. The marine wax is another way to help protect the paint and finish on the kayak from the elements and scratching. Plus, it will give the kayak a shine that looks great.

7+ How To Paint A Kayak With Spray Paint Article PAINTQE
Some primers require mixing the solution together. Be sure to read the instructions. Use a proper brush and application tools, and use them to apply the paint to your kayak. Be sure to allow each layer to dry between applications of each coat. Applying the paint in thin coats is the best way to get an even paint job.
21 Kayak Painting Ideas & Designs Kayak Help
Sand the kayak with 120 grit sandpaper, going over it softly yet swiftly. Step 2: Thoroughly Clean And Sand Your Kayak. In nail polish, varnish, and stain removers, acetone is a solvent that dissolves or degrades paint or varnish. The products can prevent oils from inhibiting the proper adhesion of paint on your kayak.

Swift Outdoor Centre Sneak Preview Part III Introducing Swift's Newest Kayak Paint Scheme
Step #3: Clean The Kayak And Sand It Down. Cleaning the kayak with a mix of water and detergent or dishwasher liquid is essential for preparing it for the paint job. You want to get rid of dust particles, built-up dirt, and other potential contaminants that could affect how the paint adheres to the surface.